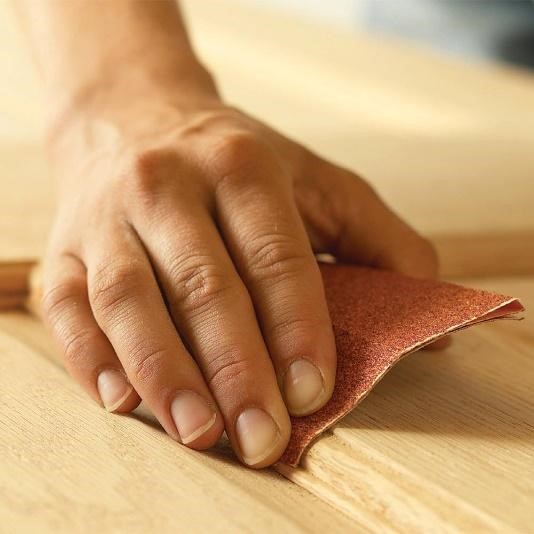
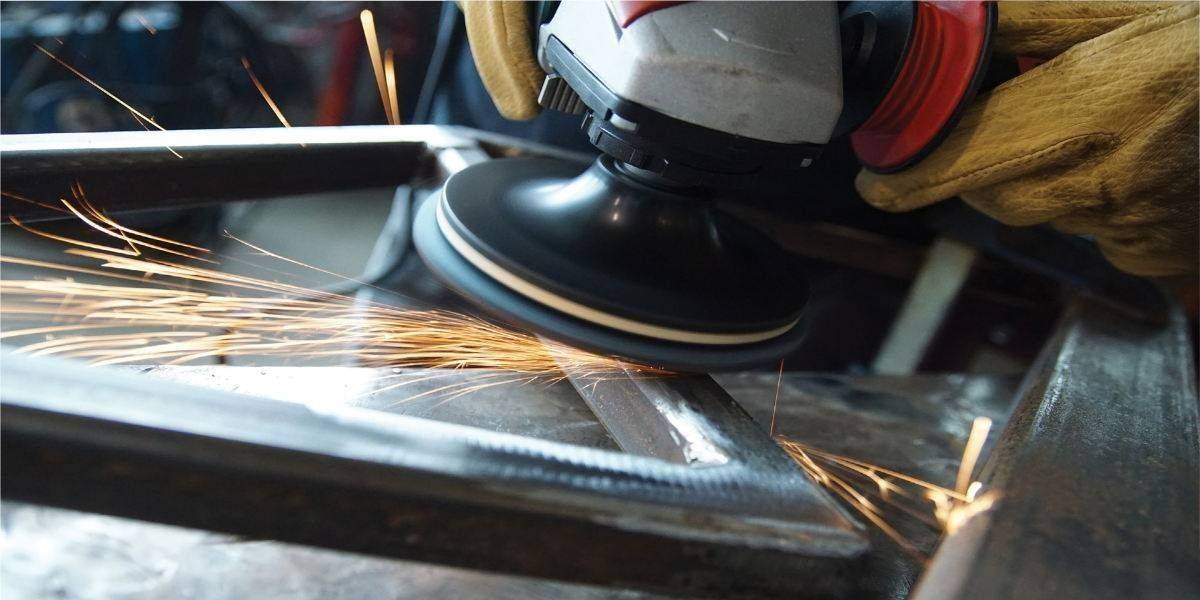
El lijado de superficies planas barnizadas es una operación habitual en la industria de la madera, los tableros y la...
}

.png "Tips and phases for manual sanding")
Sanding a wooden surface is essential to achieve a good result when we subsequently go to paint it or apply products such as varnishes, lacquers or sealants. Without proper sanding, the finish will not be adequate and the appearance of that surface will not offer what it should look like.
By sanding, the damages that the wood may have suffered due to impacts and chafing, among others, can be corrected, which contributes to increasing its useful life. Of the different sanding options, manual sanding is one of the most accessible and used techniques to improve the appearance of the wood, in addition to being mandatory in some cases in which the elements to be treated are difficult to access or very intricate.
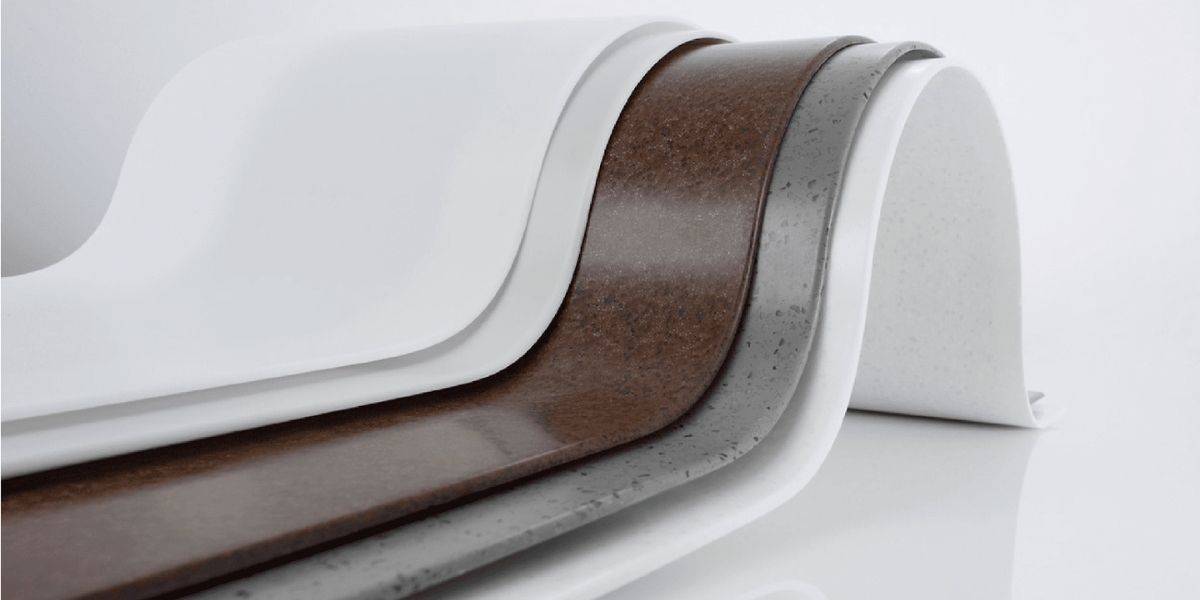
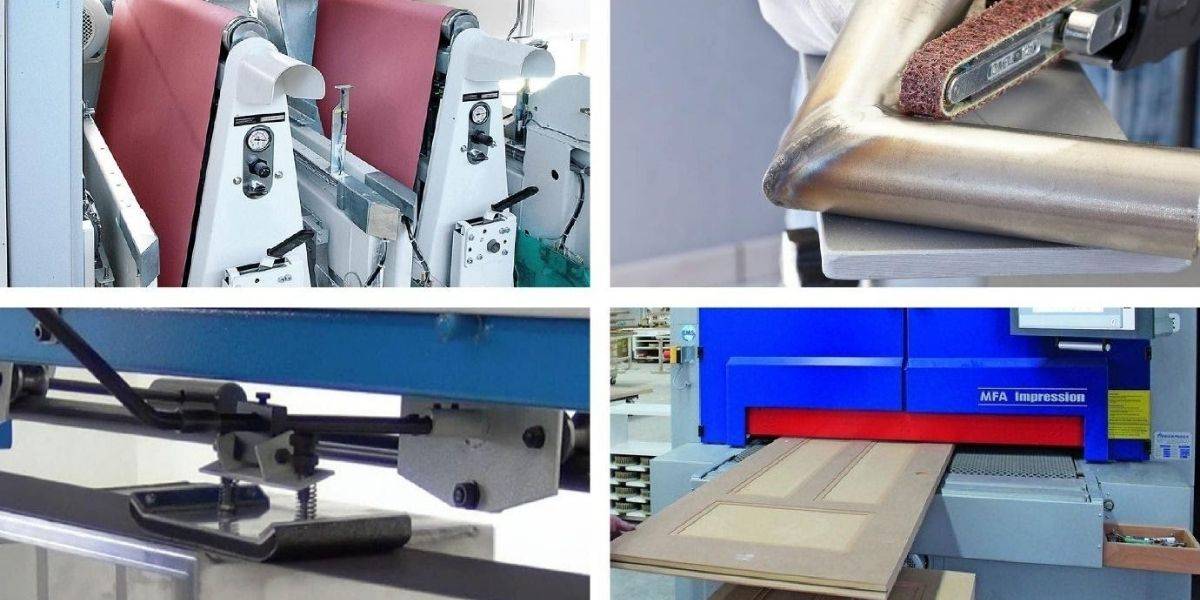
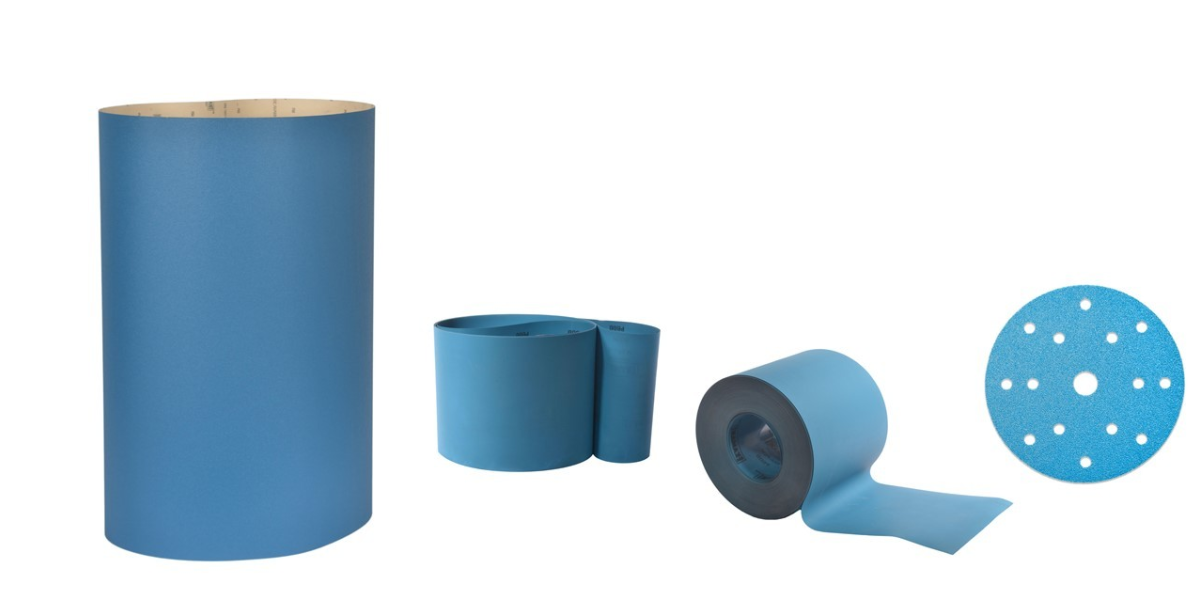
Abrasivos y maquinaria industrial: productos para un acabado perfecto
However, it is convenient to face it with certain knowledge and taking into account a series of tips. We reveal the main ones.
Granulometry used in manual sanding
In manual sanding of wooden surfaces, it is necessary to differentiate between coarse grains (from 40 to 100) and fine grains (from 120 to 220):
The first, coarse grains are used in manual sanding to clean and end irregularities and imperfections on the surface.
For its part, the function of fine grains is to homogenize the surface, create anchor points for subsequent varnishing and give a smoother finish, smoother and more pleasant to the touch and sight.
Before manual sanding we must clean the surface on which it is going to work, freeing it of dust and stains of resinous or greasy substances that cover the abrasive and prevent a good adhesion of the paint after sanding.
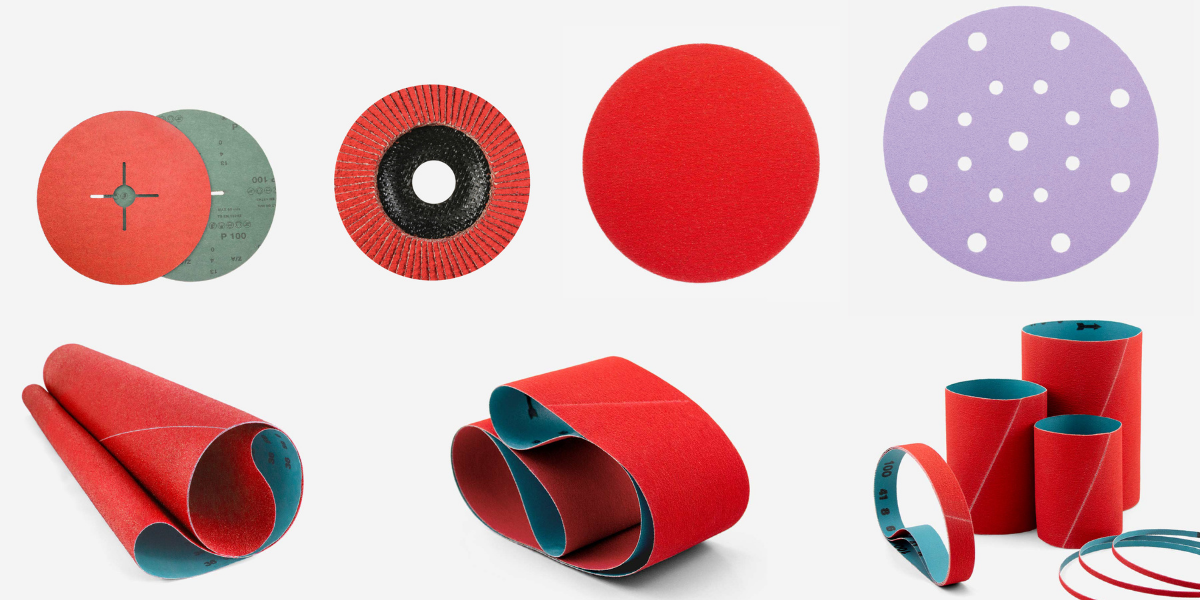
Main types of manual sandpaper
The most common abrasives used for manual sanding of wood are: sheets or sheets of sandpaper, abrasive sponges and steel wool.
Sanding sheets are the most commonly used option for sanding operations, especially in works on large surfaces. They are used on coves or manual jointers on which the abrasive sheets are fixed, thus achieving greater performance and flatness of the sanded parts.
Abrasive sponges are highly appreciated for their versatility and user comfort, which allows them to be used in small places or with complicated access, such as doors or window frames, which have contours or borders. They are used for finishing, pickling, removal of small defects or sanding between primer layers. They can be coarse or fine.
Steel wool is suitable for use before finishing, because it makes the surface smoother and in the best conditions for the rest of the processes. Steel wool, which is composed of steel wire, has many applications whether it is fine (to varnish varnishes or apply waxes on wood), medium (smooth between hand and hand and finish before varnish or paint) or coarse (suppression of old wax, stains, pickling, etc.).
How to sand by hand: tips on manual sanding
Sanding by hand does not require great technique and knowledge, but it is worth taking into account some basic tips that will help us achieve a uniform surface prepared for its final finish:
Always do it on dry surfaces. Do not sand wood surfaces that are wet or wet. The moisture present in the wood fibers prevents the fibers from being lifted and can be easily removed during the sanding operation. In addition, the dust generated becomes a kind of putty that embosses and saturates the abrasive grains.
The lowest possible pressure. Exert the minimum sanding pressure possible to avoid poor and non-uniform finishes. The sanding that is done with excessive pressure facilitates that there are areas of the piece bright, polished, soft to the touch, but with an uneven roughness that will result in non-homogeneous colors in the tinting phase. Similarly, we may encounter varnish anchor problems if the sanded surface has been polished by excess pressure.
The right abrasive tool. If we want to enhance the different finishes of the wood and its texture with soft and hard streaks, it is recommended to sand the surface with an abrasive tool whose contact area with the piece adapts to the surface, and dampen the sanding operation, avoiding planning the work zone. If, on the contrary, we want to leave a smooth and flat surface, then it will be necessary to use abrasive tools whose contact area with the piece is rigid and hard to level the work area.
Speed of the abrasive tool. In any sanding operation the speed of the abrasive tool is the key. If we increase the sanding speed the level of finish improves; On the contrary, if the sanding movement is slow, the level of finish is poor.
Sanding Pressure. We must keep in mind that sanding pressure and sanding speed are related to each other. We should not exert great pressure on the surface and at the same time do it with a very fast movement.
Watch your posture. When we do a job such as manual sanding, it is common to adopt positions that can be harmful to the neck or back. The work must be done in a workbench and in the most ergonomic way possible.
Now that you know the tricks for sanding by hand, you can read on how to choose the right abrasive products or contact us if you need advice.


 (1).png)
 (1).png)
.png)
.png)
.png)
.png)
.png)
.png)
.png)
.png)
.png)
.png)
.png)
.png)
.png)
.png)
.png)